|
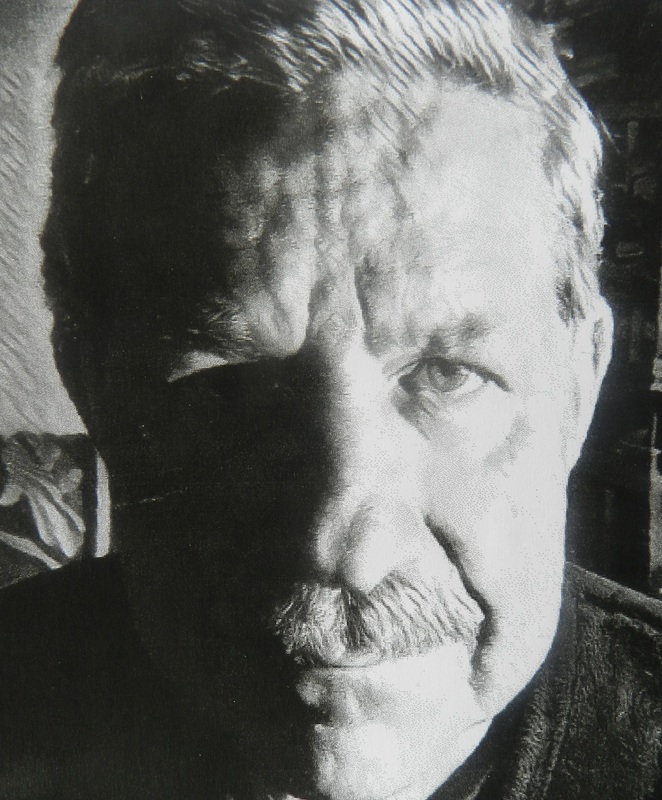
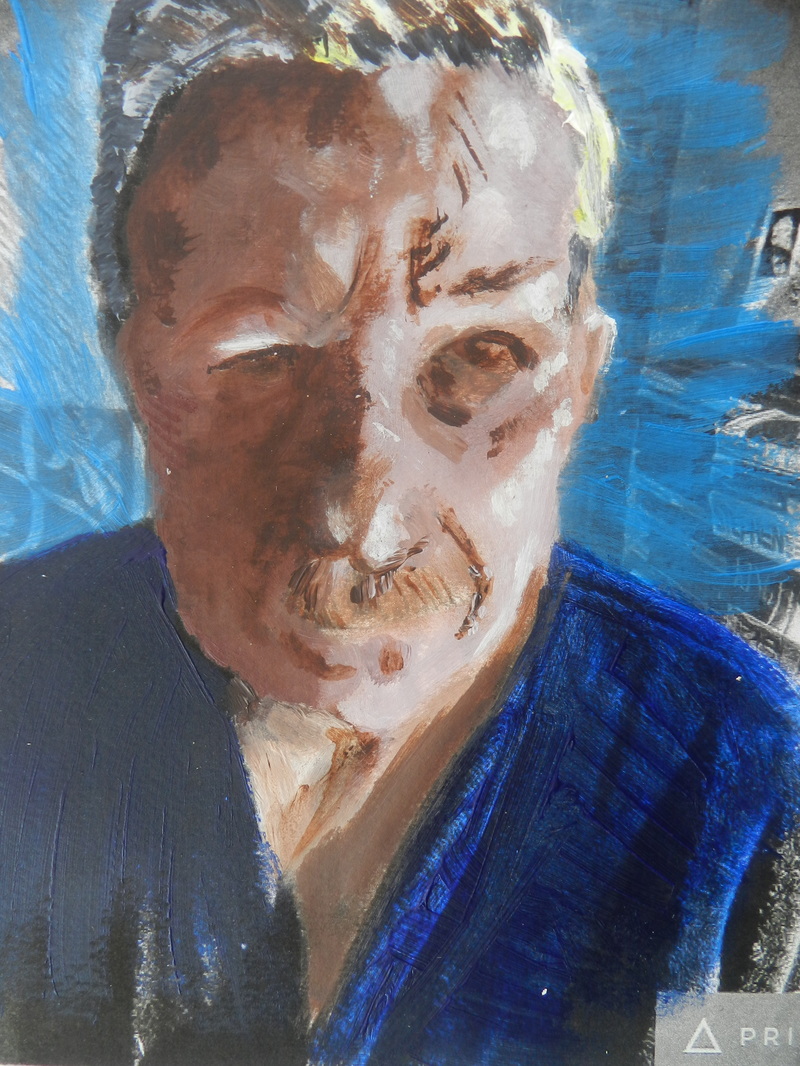
As I mentioned in an earlier blog I am currently looking at portrait painting and will blog each step of my work showing the learning that I am experiencing. Ian, one of my tutors for 2017, has been sharing a personal process of layering tone with me. So this is what I did based on what we shared but any mistakes are my own 1. Take photo of subject with strong light to give easy definition of light and dark tones 2. Use 'Prisma' or similar to change photo to black an white to allow you to concentrate on tone 3. I then added another stage because I wanted to lighten the darks before painting over them so I put the original photo back in Prisma and used a different effect, see below. 4. Then I mixed white and sienns (I used burnt sienna) in acrylic paint and covered the lighest tones. I should have covered the whole area here and I did not which has meant the final painting lacks some subtly of tone. I used a fairly dry, stiff bristled brush to scrub the paint on. The dry bristles give a softish edge which helps the effect. Mixing more sienna into the paint I already had, I added the next tonal layer. 5. Then I added burnt umber and did the darkest tones. 6. I changed to a softer bristled brush and dab puer burnt umber onto the brush to paint more carfeul dark details, e.g. eyebrows and eyes. However, it is still a rough plan; it does not need to look like the face. The more pointy brush and gentle dabbing application of paint allows more precision. Below is my first attempt at this process
1 Comment
|
Jane Limousin
|

 RSS Feed